Restricting access to Visulate
Setup and configure an Identity-Aware Proxy to control who has access to Visulate before registering any databases that you do not want published on the public internet.
Identity-Aware Proxy (IAP) is a Google Cloud Platform service that provides access controls for https resources. IAP secures authentication for https requests and only grants access to users you authorize. This allows users to connect from untrusted networks without using a VPN.
The process for configuring IAP is outlined in the following documents:
This document describes the process to follow to setup an IAP enabled Visulate environment.
Create or identify a NEG
Create or identify a Zonal Network endpoint group (NEG) for to use as a backend in a load balancer
-
VM based deployments:
- Remove any public IP addresses associated with the VM
- Create a Zonal NEG and allocate the Visulate VM to it.
-
Kubernetes:
-
Find the
cloud.google.com/negannotation in the proxy service that was created automatically when the service deployed e.g. “visulate-for-oracle-203-neg” in the example belowapiVersion: v1 kind: Service metadata: annotations: cloud.google.com/neg: '{"exposed_ports": {"80":{"name": "visulate-for-oracle-203-neg"}}}' cloud.google.com/neg-status: '{"network_endpoint_groups":{"80":"visulate-for-oracle-203-neg"},"zones":["us-east1-c"]}' kubectl.kubernetes.io/last-applied-configuration: | {"apiVersion":"v1","kind":"Service","metadata":{"annotations":{"cloud.google.com/neg":"{\"exposed_ports\": {\"80\":{\"name\": \"visulate-for-oracle-203-neg\"}}}"},"labels":{"app":"visulate-for-oracle","app.kubernetes.io/name":"visulate-for-oracle-203","component":"proxy"},"name":"visulate-for-oracle-203-visulate-for-oracle-proxy-svc","namespace":"catalog","ownerReferences":[{"apiVersion":"app.k8s.io/v1beta1","blockOwnerDeletion":true,"kind":"Application","name":"visulate-for-oracle-203","uid":"324b652d-3226-4aa6-89e9-9bd150eb1de9"}]},"spec":{"ports":[{"name":"visulate-for-oracle-proxy","port":80,"protocol":"TCP","targetPort":80}],"selector":{"app":"visulate-for-oracle","app.kubernetes.io/component":"visulate-for-oracle-proxy","app.kubernetes.io/name":"visulate-for-oracle-203","component":"proxy"},"type":"ClusterIP"}} creationTimestamp: "2024-10-06T21:30:38Z" labels:
-
Create a Load Balancer
Create a Global external Application load balancer:
- Use a Google Managed Certificate as a frontend
- and a Zonal NEG as a backend.
- Make sure CDN is disabled for the backend service as IAP is not supported for CDN backed resources.
Wait for the load balancer to deploy and then test access using a browser. At this point Visulate should be accessible to the public internet. The following steps will restrict this access to a named list of users.
Configure the OAuth consent screen
Open the GCP console and navigate to the OAuth consent screen under APIs & Services
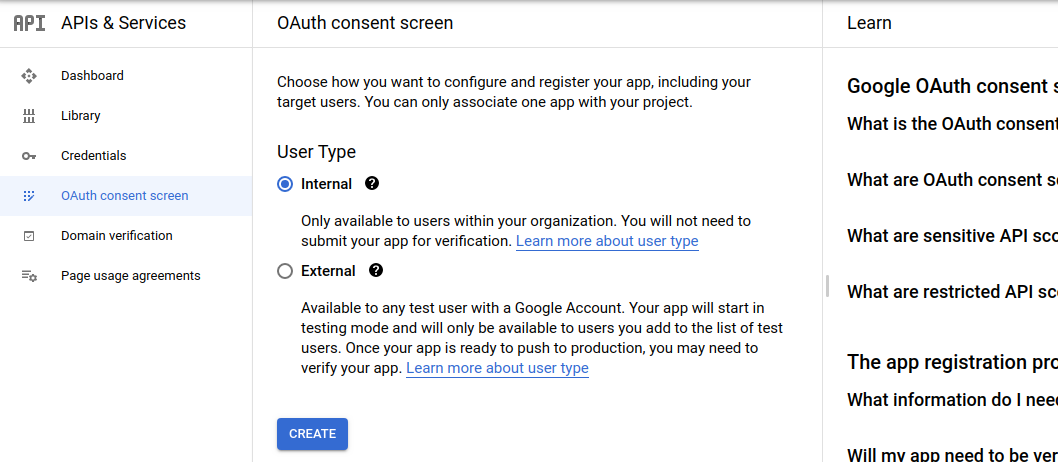
Select internal as User Type and hit the Create button.
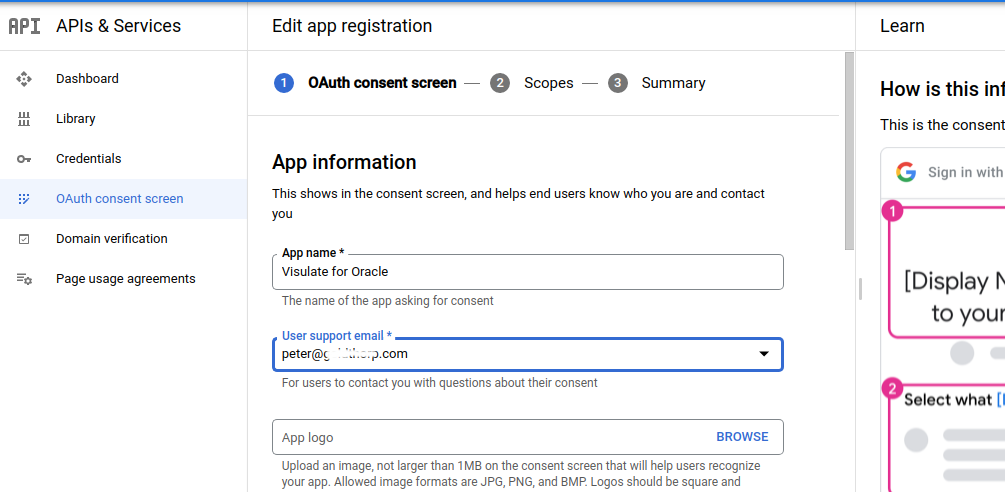
Enter an App name and support email address then click Save.
Create OAuth credentials
Navigate to to the Credentials page under APIs & Services
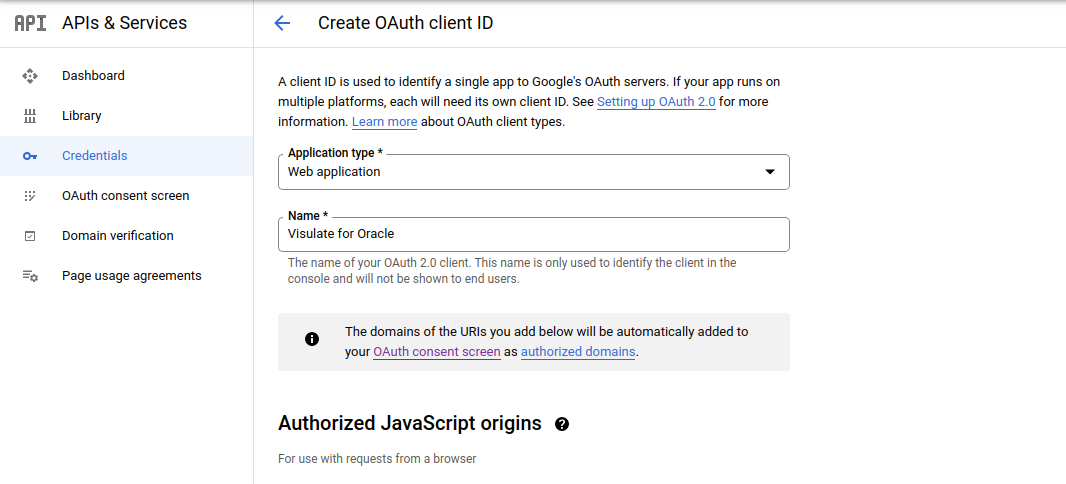
Select Web application in the Application type drop down, supply an name and click Create. This will open a dialog showing a newly created OAuth client ID and secret.
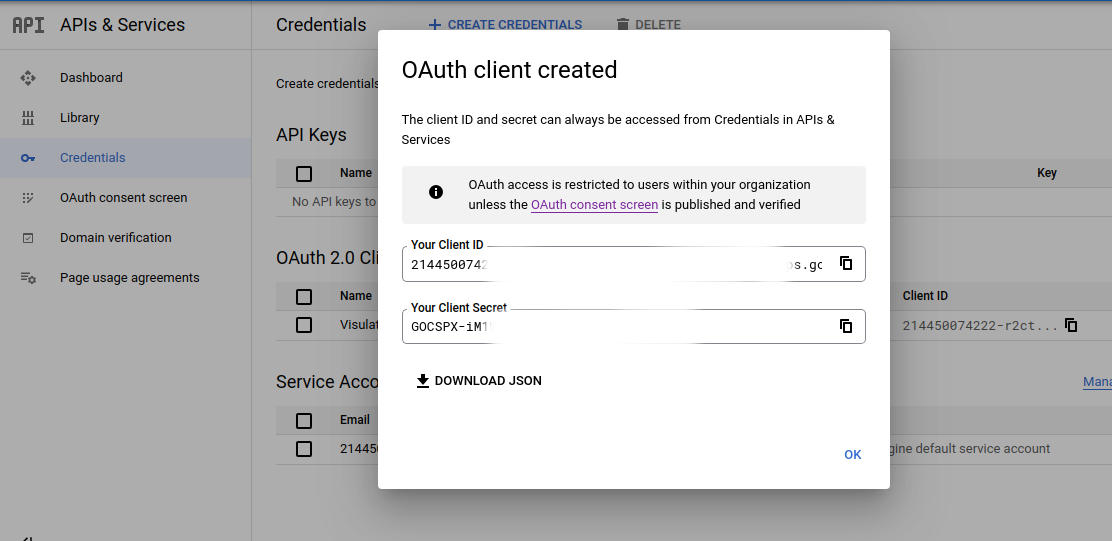
Copy the client ID to the clipboard and use the Download JSON link to save the credentials for later use.

Add a universal redirect URL to the authorized redirect URIs field in the following format
https://iap.googleapis.com/v1/oauth/clientIds/CLIENT_ID:handleRedirect
where CLIENT_ID is the OAuth client ID you copied to the clipboard.
Setup IAP access
Navigate to the Identity-Aware Proxy page under Security. You should see an entry for the load balancer backend service. Select the checkbox at the start of the row and hit the Add Principal button on the right of the screen.
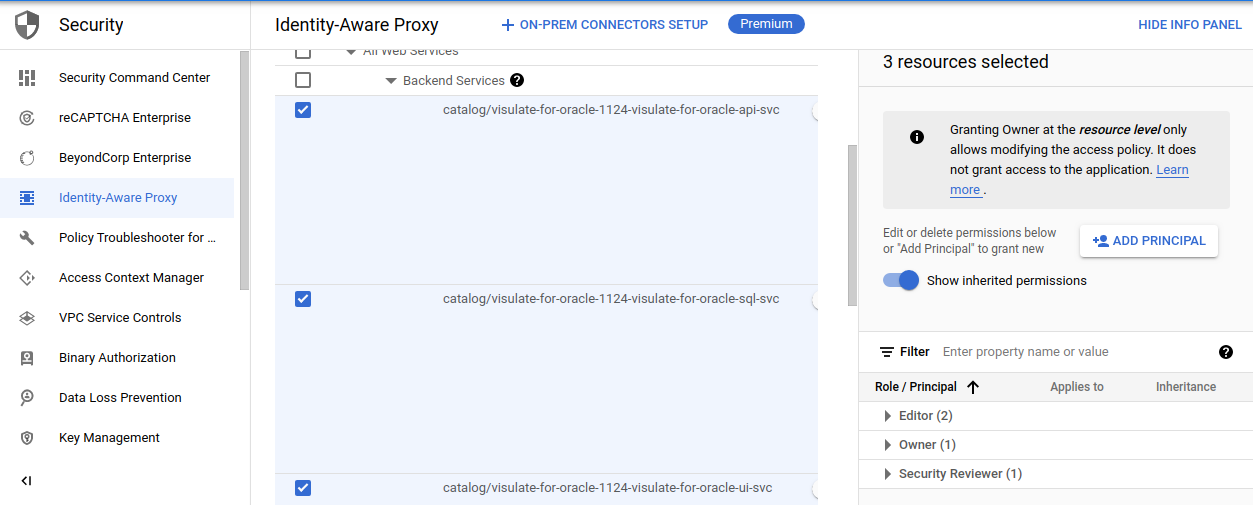
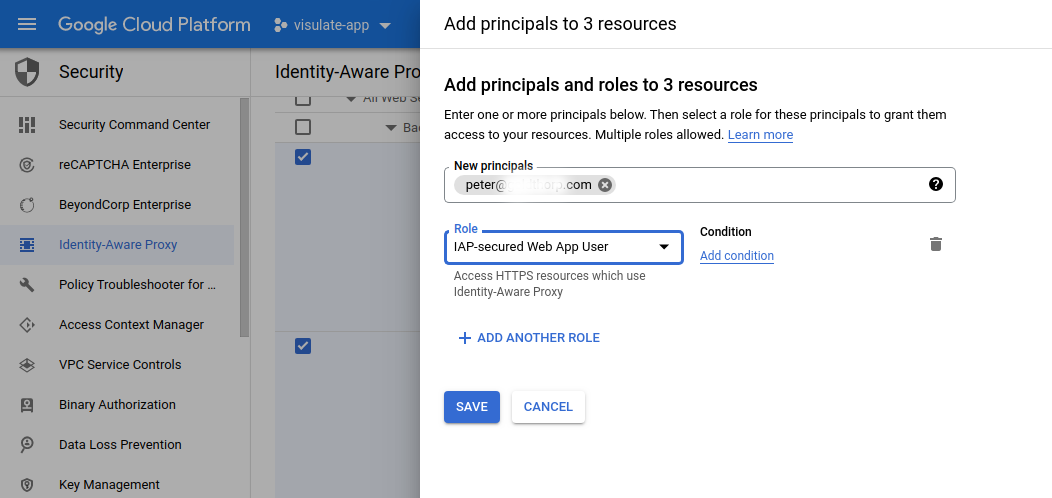
In the Add principals dialog that appears, enter the email addresses of groups or individuals who should have access the Visulate UI and APIs. Select IAP-secured Web App User in the Role field and hit Save
Use the toggle control on the Visulate row to enable IAP.
Test IAP
Wait for the changes to take effect then open the Visulate UI in a new Incognito window. You should be required to authenticate with your Google credentials. Verify that each user that has been assigned IAP-secured Web App User access is able to use Visulate while logged in with Google credentials. Also verify that users who have not been granted access are unable to use Visulate.
Copyright © Visulate LLC, 2019, 2025 Privacy Policy